
A toilet install usually looks easy right up until the old one is off and you are staring at a flange, a wax ring, and a floor that may not be as level as it seemed. If you are searching for how to install new toilet fixtures yourself, the good news is that many standard replacements are manageable with the right prep. The bigger truth is that small mistakes here can lead to leaks, rocking, sewer gas smells, or damage under the floor.
This guide walks through the job in a practical way so you know what to expect, where DIY makes sense, and when it is smarter to call a licensed plumber.
Before You Install a New Toilet
The simplest toilet replacement is a like-for-like swap. That means the rough-in measurement matches, the shutoff valve works, the flange is in good shape, and the floor around the base is solid. If all of that checks out, the project is fairly straightforward.
If any of those pieces are questionable, the install gets more technical fast. A broken flange, a soft subfloor, corroded closet bolts, or an old shutoff that will not close cleanly can turn a two-hour project into a longer repair. In older homes and some multi-unit buildings, that is often where hidden issues show up.
Before buying the toilet, measure from the finished wall to the center of the floor bolts. Twelve inches is most common, but 10-inch and 14-inch rough-ins exist. Also check the bowl shape and overall depth if the bathroom is tight.
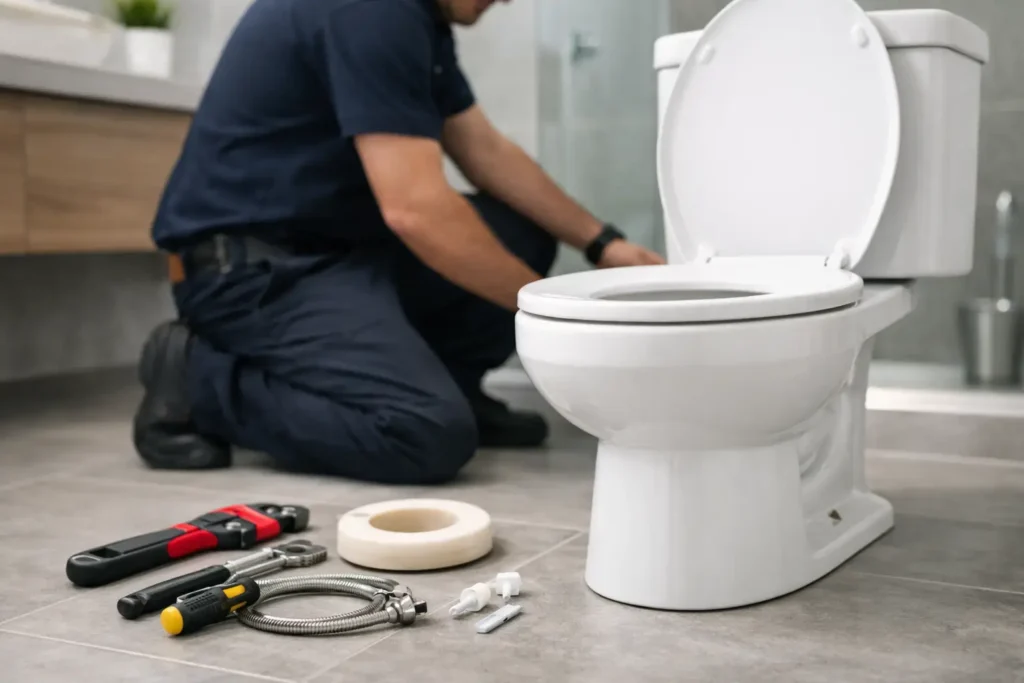
Tools and Materials You Will Need
For most standard installs, you will want an adjustable wrench, deep socket or wrench set, screwdriver, putty knife, sponge or wet vac, rags, level, utility knife, gloves, and a bucket. Materials usually include a new wax ring or wax-free seal, closet bolts, supply line, shims if the floor is uneven, and silicone caulk if you choose to caulk the base.
Many new toilets come with some hardware, but not always everything you need. It is worth checking the box before starting so you are not making a hardware store run halfway through the job.
How to Remove the Old Toilet
Start by shutting off the water at the toilet stop valve. Flush the toilet and hold the handle down to empty as much water as possible from the tank and bowl. Use a sponge or wet vac to remove the rest. Even after draining, there is usually some water left in the trap, so move carefully.
Disconnect the supply line from the tank. Remove the caps from the base bolts and loosen the nuts. If they are badly rusted, you may need to cut them. Once the nuts are off, rock the toilet gently to break the old wax seal, then lift it straight up. Toilets are awkward and heavier than they look, so having a second person helps.
Set the old toilet on cardboard or a towel to protect the floor. Then scrape away the old wax ring completely with a putty knife.
Inspect the Flange and Floor
This is the part people rush, and it is where many installation problems begin. The flange should be secure, not cracked, and sit at the correct height relative to the finished floor. The subfloor around it should feel firm, not soft or swollen.
If the flange is damaged or sitting too low, the new seal may fail. If the floor is uneven or rotted, the toilet may rock no matter how carefully you tighten it. A rocking toilet does not just feel wrong. It can break the seal over time and cause leaks underneath.
If you find damage here, it is usually better to stop and repair the structure properly before installing the new fixture.
How to Install New Toilet Step by Step
1. Set the new closet bolts
Place the new closet bolts into the flange slots. Some kits include plastic retainers to hold them upright, which makes positioning the bowl easier.
2. Place the seal
If you are using a wax ring, press it either onto the horn of the toilet outlet or set it on the flange, depending on the manufacturer guidance and your preference. Both methods are used, but the key is alignment. Once wax is compressed, you do not get a second clean try.
Wax-free seals can be easier for beginners and can work well in certain situations, especially if the flange height is slightly off. The trade-off is that they are more brand-specific, so follow the instructions closely.
3. Lower the bowl into place
Carefully align the bowl holes with the closet bolts and lower the toilet straight down. Try not to twist or slide it around too much after contact. Press down evenly to compress the seal.
4. Tighten the base nuts carefully
Install washers and nuts on the closet bolts and tighten them a little at a time, alternating sides. Do not overtighten. Porcelain can crack if you force it. The goal is snug and stable, not as tight as possible.
If the toilet rocks because the floor is uneven, use toilet shims at the base. Once the bowl is stable, trim the visible shim ends neatly.
5. Install the tank if needed
Some toilets are one-piece, while others have a separate tank. For two-piece models, install the tank gasket and bolts according to the instructions, then tighten evenly. Again, firm is good. Excess force is not.
6. Connect the water supply
Attach the new supply line from the shutoff valve to the tank fill valve. In most cases, replacing the old supply line is the safer move. They are inexpensive, and reusing an old one can create a leak point.
7. Turn on water and test
Open the shutoff valve slowly and let the tank fill. Watch the supply connection, tank bolts, and base for any signs of water. Flush several times. If water appears around the base, stop and investigate before caulking or finishing.
Should You Caulk Around the Base?
In many cases, yes. A small bead of caulk around most of the toilet base helps keep mop water, dust, and minor spills from getting underneath. It also improves the finished look.
Some plumbers leave a small gap at the back so a hidden leak becomes noticeable instead of staying trapped. Local code and installer preference can vary, so this is one of those areas where it depends. The important thing is not to use caulk to hide a toilet that is rocking or leaking. Stability comes first.
Common Mistakes to Avoid When You Install a New Toilet
One common mistake is installing over a damaged flange and hoping the wax ring will make up for it. It usually will not. Another is overtightening bolts at the base or tank, which can crack porcelain and ruin a brand-new fixture.
Homeowners also get into trouble by skipping the level check. A toilet that is slightly off can still flush, but if it rocks, the seal may not last. Reusing an old supply line is another avoidable risk.
The last big mistake is assuming any leak at the base just needs more caulk. If water is escaping there, the seal, flange, or bowl position needs attention.
When DIY Makes Sense and When It Does Not
If you are replacing a standard floor-mounted toilet with the same rough-in, the shutoff valve works, and the flange and floor are solid, this can be a reasonable DIY project. It helps if you are comfortable lifting heavy fixtures and working carefully with plumbing connections.
If the toilet is in a condo, commercial washroom, or older home with signs of previous leaks, extra caution is smart. The cost of getting it wrong is not just a loose fixture. It can mean ceiling stains below, flooring damage, odor issues, or callbacks from tenants.
This is why many property owners prefer to have the install handled professionally, especially when time, cleanliness, and reliability matter. A good plumber can spot flange problems, valve issues, or hidden floor damage before they become a bigger repair.
Final Checks After Installation
Once the toilet is secure and flushing properly, put on the bolt caps, clean the area, and keep an eye on it for the next day or two. Check around the base and supply connection after multiple flushes. A dry floor and a steady toilet are what you want.
If anything feels off, do not wait for the problem to get worse. A small leak under a toilet can stay hidden longer than people expect.
A new toilet should feel solid, flush cleanly, and give you zero reason to think about it afterward. If your install gets complicated or you want the peace of mind of having it done right the first time, a local professional like Encano Plumbing & Drainage can save you time, frustration, and the cost of fixing a preventable leak later.