Richmond drain service · open 24/7
Drain Cleaning in Richmond, BC that clears the cause, not just the clog
Snaking, hydro-jetting and sewer camera inspection for Richmond homes, stratas and kitchens. We see the problem first, then quote a flat rate before we start.
- 5.0 on Google, 51 reviews
- Available 24/7
- 1-year workmanship warranty
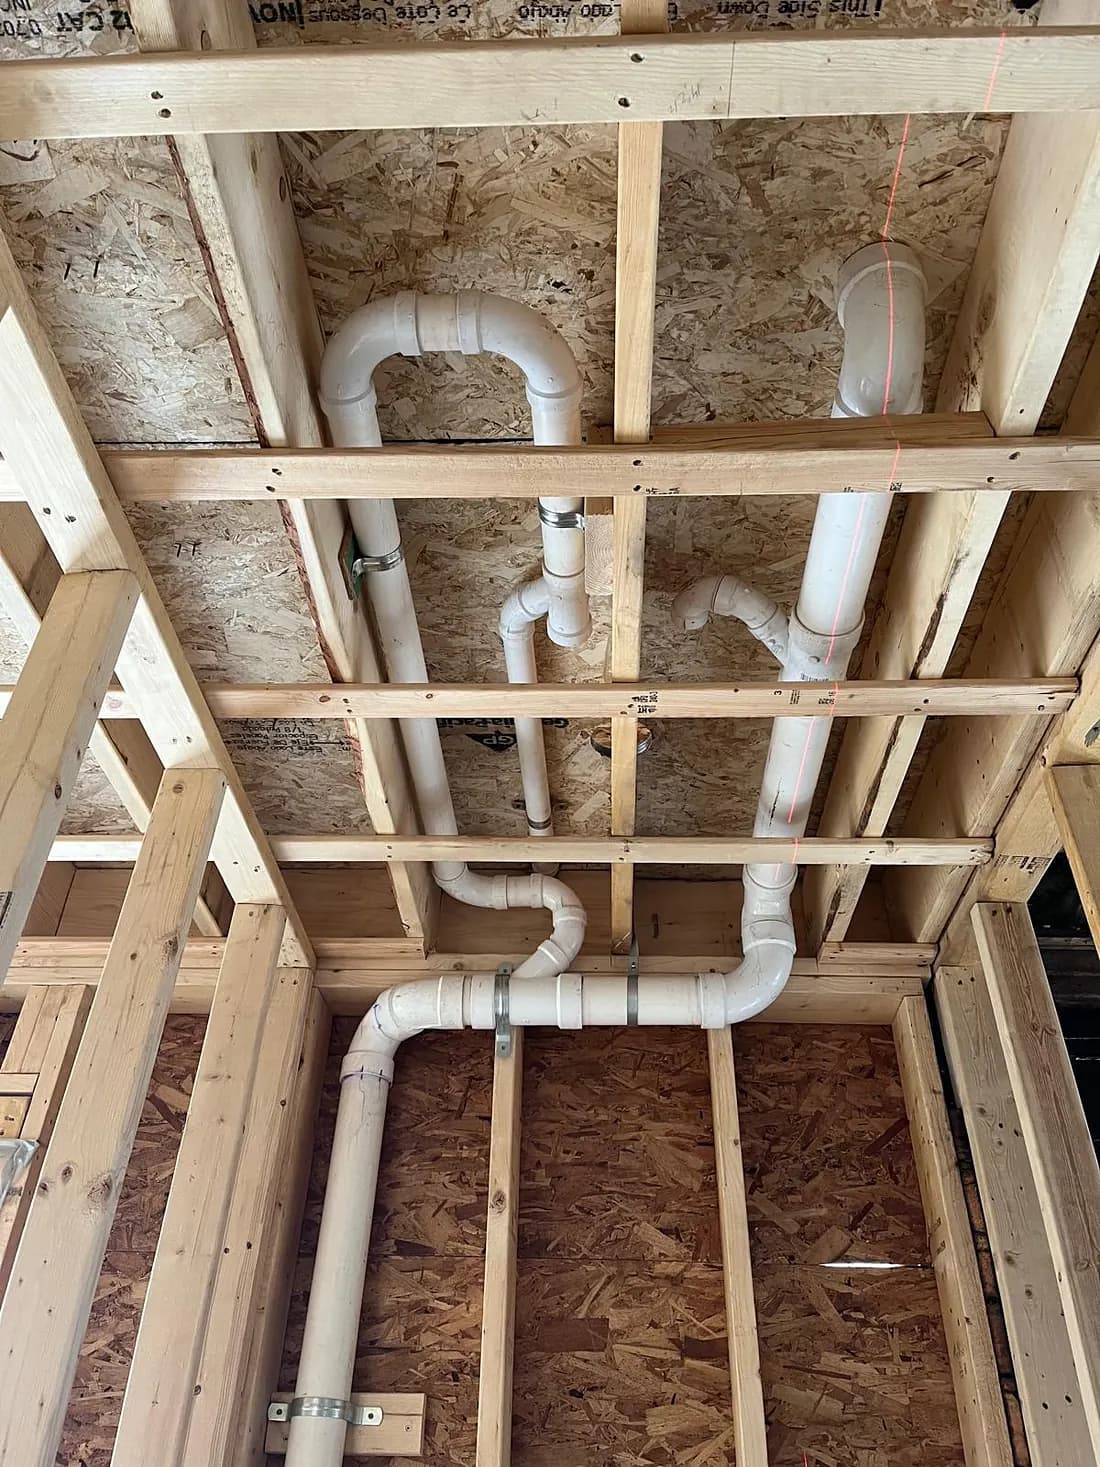
How do you clean a clogged drain in Richmond, BC?
A plumber clears the line with a drain snake (auger) for simple blockages, or a high-pressure hydro-jetter for grease, sludge and roots. In Richmond, where drains run almost flat and the water table is high, a sewer camera inspection first shows what is really in the pipe, so you pay only for the method the line actually needs.
Most Richmond drain calls start the same way: the kitchen sink is clogged again, or the toilet backs up when the washer drains. Plunging buys a week, then it comes back. Our job is to find out why the line keeps closing and clear it properly the first time.
Richmond is a tough place for drains. Lulu Island sits close to sea level, so many sewer laterals have very little slope. Water moves slowly, and grease, soap and silt settle instead of washing through. Older homes from the 1960s to the 1990s often have clay or concrete laterals where roots work into the joints. That is why we put a camera down the line before we pick a tool.
Encano Plumbing is a family-owned company based in Richmond. We handle single clogs in a condo kitchen, recurring backups in a detached house, grease lines for restaurants and small businesses, and scheduled maintenance for strata complexes. You get a free assessment in Richmond, an upfront flat-rate price agreed before any work starts, and a 1-year workmanship warranty.
Signs your Richmond drain needs a professional cleaning
The same drain clogs every few weeks
A recurring clog means buildup or a defect further down the line that a plunger cannot reach.
Gurgling from sinks or toilets
Air bubbling back up usually points to a partial blockage or a venting problem in the main line.
Water backing up in a floor drain or tub
When fixtures on the lowest level back up first, the main sewer lateral is often the issue.
Slow kitchen sink after cooking
Grease cools and hardens in the pipe. Each layer narrows the line until it closes.
Sewer smell inside or in the yard
Odors can come from standing waste in a sagging or partly blocked line.
Wet basement walls or a busy sump pump
A silted perimeter drain stops carrying groundwater away from the foundation.
Drain services we provide in Richmond
Every job starts with finding the cause. From there we use the right tool for the pipe, not the most expensive one.
- Drain snaking and augering
- For hair, soap, wipes and food clogs in sinks, tubs, showers, toilets and floor drains. Fast, low-impact and often all a simple blockage needs.
- High-pressure hydro-jetting
- Water at high pressure scours grease, scale, sludge and fine roots off the pipe walls, restoring the full diameter instead of punching a hole through the clog.
- Sewer video camera inspection
- A waterproof camera shows roots, cracks, sags, offset joints and buildup. You see the footage, and we use it to recommend the right fix.
- Perimeter drain and drain tile flushing
- We flush silt and debris out of the drain tile around your foundation so groundwater keeps moving away from the house.
- Sump pump maintenance and testing
- We check the pump, float, check valve and discharge line and clean the pit before the wet season.
- Commercial grease lines and strata programs
- Scheduled grease line cleaning for kitchens and small businesses, and maintenance programs for strata buildings that keep stacks and laterals flowing.
How a drain cleaning visit works
- 01
Call or text
Tell us which drain is acting up and what you have noticed. Same-day service is available, and we answer 24/7 for backups that cannot wait.
- 02
Look before we clear
We check access and cleanouts, then run a camera when the problem is in the main line or keeps coming back. You see what we see.
- 03
Flat-rate price, then the work
We explain the options and give you one upfront price. Nothing starts until you agree. Then we snake, jet or flush the line as needed.
- 04
Test, clean up, explain
We run water to confirm full flow, clean the work area, and tell you how to keep the line clear. The work carries our 1-year workmanship warranty.
What drain cleaning costs in Richmond
We do not post one price for every drain, because two clogs on the same street can need very different work. After the assessment (free in Richmond) you get a flat rate in writing. These are the factors that move it.
| What you pay for | How it is priced | Notes |
|---|---|---|
| Fixture drain snaking (sink, tub, toilet)Depends on how easy the drain is to reach and how far the clog sits from the opening. | Quoted upfront after the assessment | Depends on how easy the drain is to reach and how far the clog sits from the opening. |
| Main line clearingAn accessible cleanout keeps it simpler. No cleanout, or access through a toilet or roof vent, adds time. | Quoted upfront after the assessment | An accessible cleanout keeps it simpler. No cleanout, or access through a toilet or roof vent, adds time. |
| Hydro-jettingPriced on line length, pipe size and how heavy the grease, scale or root buildup is. | Quoted upfront after the assessment | Priced on line length, pipe size and how heavy the grease, scale or root buildup is. |
| Sewer camera inspectionOften done with the cleaning so you know whether the line also needs repair. | Quoted upfront after the assessment | Often done with the cleaning so you know whether the line also needs repair. |
| Perimeter drain flushingDepends on the number of access points, the length of drain tile and how much silt has built up. | Quoted upfront after the assessment | Depends on the number of access points, the length of drain tile and how much silt has built up. |
Your exact price is quoted upfront, in writing, before any work starts. If the camera shows a broken or collapsed pipe, we show you the footage and quote the repair separately.
The assessment is free in Richmond. Outside Richmond, travel time is charged, and we quote it before we come out. If you go ahead with the work, you get a discount on that travel time. You always know the price before we go.
Why Richmond drains clog the way they do
Richmond is built on the Fraser River delta, behind dikes and close to sea level. Builders have little room for fall, so many sewer laterals and perimeter drains run nearly flat. Flat pipes drain slowly, and slow water drops whatever it carries. Over time that becomes a layer of grease and sediment that narrows the line from the bottom up.
The housing mix matters too. Detached homes in Broadmoor, Seafair, Shellmont and Blundell from the 1960s to the 1990s often have older clay or concrete laterals with joints that roots can find. Townhouse and strata complexes share long runs where one unit’s grease affects the neighbors. High-rise condos in City Centre and Brighouse have stacks that need regular jetting, and restaurant kitchens in Steveston and City Centre depend on clear grease lines.
Neighborhoods we work in
- Steveston
- Terra Nova
- Broadmoor
- Seafair
- Thompson
- Blundell
- Garden City
- Shellmont
- Ironwood
- Hamilton
- East Richmond
- City Centre
- Bridgeport
- Brighouse
- Westwind
- Riverdale
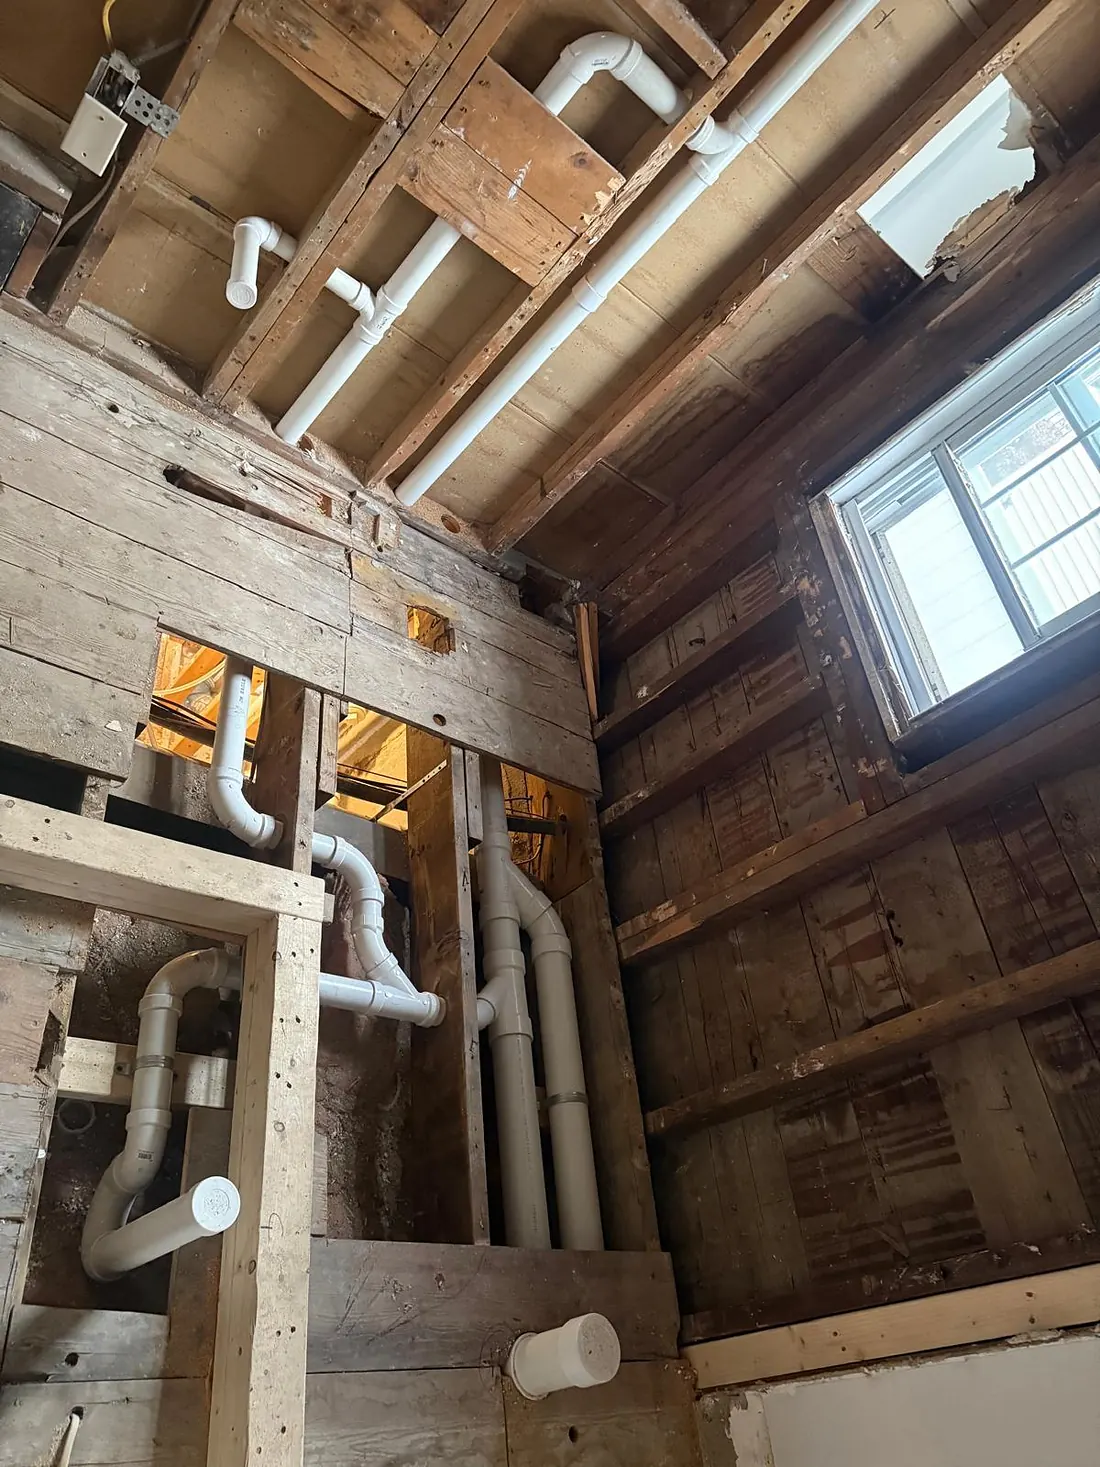
Get perimeter drains and sumps ready for the rainy season
From roughly October to March, Richmond gets steady rain on ground that is already wet. With a high water table, perimeter drains and sump pumps work hardest in these months. A silted drain tile or an untested sump is usually found the hard way: water on the basement floor.
Early fall is the best time to flush perimeter drains, test the sump pump and camera the main line. Damp walls or a sump that runs nonstop? Book a visit before the next big storm.
Encano Plumbing is licensed and insured. Every drain cleaning job carries our 1-year workmanship warranty.
Ask us anything51 reviews on our Google profile, copied word for word.
 Vivian WongGoogle review · 5 months ago
We had a kitchen sink emergency Sunday night and Eddy saved the day. Showed up Monday morning as promised, stayed patient through a tricky clog, and clearly knew exactly what he was doing. Price was more than fair. Highly recommend Eddy if you need a plumber you can trust. Thank you very much Eddy!
 Philipe BolzanGoogle review · 2 months ago
Awesome service. Reliable and experienced technician. Solved the problem with my toilet in 15 minutes hassle-free
 Hirtonio AndradeLocal Guide · a year ago
Amazing service! Encano Plumbing & Drainage Ltd was super fast, professional, and paid great attention to detail. From the first call to the end of the job, they were friendly, clear, and easy to deal with. They showed up on time, gave a fair quote, and the work was done really well. I’d definitely recommend them to anyone looking for a plumber they can trust. One of the best service experiences I’ve had here in Canada!
 Onilton MacielLocal Guide · 3 months ago
Eddie is amazing. He is professional and quick in resolving the issues. He has very fair prices. Highly recommend!
 Flavio TruzziLocal Guide · 4 months ago
I can't recommend Encano Plumbing & Drain enough! They came to replace my dishwasher and immediately ran into a problem left behind by the previous installers, a metal piece that had been incorrectly fitted and was completely blocking access to remove the old unit. Rather than giving up or charging me extra to come back another day, Ed handled it on the spot, cutting through the obstruction efficiently and professionally. What really stood out was how thorough and tidy he was throughout the whole job. He kept the work area clean, and didn't leave me with a mess to deal with, which honestly isn't always a given. On top of that, he went out of his way to help me get rid of the old dishwasher, which saved me a huge headache. This is exactly the kind of tradesperson you want: calm under pressure, resourceful when things don't go to plan, and genuinely helpful beyond just the bare minimum.
 Celine YinGoogle review · 10 months ago
Very responsive, on-time and excellent service. Ed is very professional and knowledgeable. He helped us with installation of new hot water tank, garburator, dishwasher, washers/dryers, toilets and removal of the old ones. He also handled any other plumbing concerns we’ve got. He can do them all. Would highly recommend!
 Makoto TaniguchiGoogle review · 6 months ago
Eddie was friendly, gave me a good quote, came in early and explained the tasks prior to starting and did an excellent job. Highly recommended.
 Luiz PortellaGoogle review · 7 months ago
Eddie is amazing! Great customer service and attention to details. He helped me with a leaky shower that needed a cartridge replacement and a couple of other minor repairs. 5 stars hands down. I recommend!
Drain Cleaning questions
Straight answers. If yours is not here, text it to us.
Open now · 24 hours, 7 days
Pipe burst at 2 a.m.? Call or text. We pick up.
Shut the main water valve if you can, then call or text. The Encano team answers 24/7 and tells you what happens next, including the price, before anyone touches a tool.
Get your drain cleaning price
Tell us what is going on. We reply with next steps and a time, and the price is agreed before any work starts.