
You jiggle the handle at 2 a.m., hear the tank refill, and tell yourself you'll deal with it tomorrow. By morning, the bowl looks normal, the toilet still flushes, and the repair moves down the list again. That quiet hiss is often a leak, not a harmless quirk.
This guide shows how to repair toilet flush problems yourself without buying parts on a guess. You'll confirm the leak first, inspect the flapper and chain, diagnose the fill valve, check dual-flush controls, and decide when a British Columbia toilet should be repaired, replaced, or escalated to a plumber.
Table of Contents
- Why a Running Toilet Deserves Immediate Attention
- Confirming the Leak Before You Buy Any Parts
- Fixing a Worn Flapper and Adjusting the Chain
- Repairing the Fill Valve and Dual-Flush Actuators
- Repair or Replace and When to Call a Pro
- Testing Your Repair and Preventing the Next One
Why a Running Toilet Deserves Immediate Attention
A running toilet can waste treated water while appearing completely functional. The bowl might never overflow, yet water can pass from the tank through a worn seal, trigger the fill valve, and keep the fixture cycling without making much noise.
California guidance states that a leaking toilet may waste up to 200 gallons per day, or as much as 6,000 gallons in a 30-day month and approximately 73,000 gallons in a year if the leak continues at that maximum rate (California municipal home-water-survey guidance). Those figures describe the upper limit, not every toilet leak, but they explain why “I'll fix it next weekend” can be a costly decision.
Practical rule: If the toilet refills when nobody has flushed it, confirm the leak before you assume the handle is the problem.
A running toilet also wastes water that has already been treated and delivered to your home. In British Columbia, the Vancouver Island Strata Owners Association reports a running toilet can waste 20 to 40 litres per hour, equivalent to approximately 175,200 to 350,400 litres annually (VISOA's 2025 bulletin). The local consequence matters in a strata building, where a leak can affect shared walls, ceilings, or common plumbing.
The repair itself is often straightforward. A deteriorated flapper, loose chain, misadjusted handle, or defective fill valve can usually be inspected with the tank lid removed and a towel beside the fixture. The mistake is replacing the first visible component without proving what's leaking.
For homeowners in Vancouver, Richmond, Surrey, and surrounding communities, the right sequence is simple: confirm the leak, isolate the water, repair the failed part, and test the toilet repeatedly. If water damage, a suspected cracked tank, a seized shut-off valve, or shared building plumbing is involved, stop treating it as a small DIY job. Owners in strata properties should document the defect and check their responsibilities before altering the fixture.
A useful local reference is this guide to why a toilet may be constantly running, but the diagnosis below is the step I'd insist on before buying a replacement flapper.
Confirming the Leak Before You Buy Any Parts
Start with the tank lid off and the bathroom quiet. Don't order a flapper because the toilet makes a sound. First establish whether water is crossing from the tank into the bowl, entering through the fill valve, or being held open by the actuator.
Use a dye test for a flapper leak
Remove the tank lid and add a small amount of food colouring to the tank water. Don't flush. Wait 15 to 20 minutes, then inspect the bowl. If coloured water appears in the bowl, the flush-valve seal is leaking. The dye test identifies movement from tank to bowl, but it doesn't tell you whether the rubber flapper, flush-valve seat, or another seal is responsible.
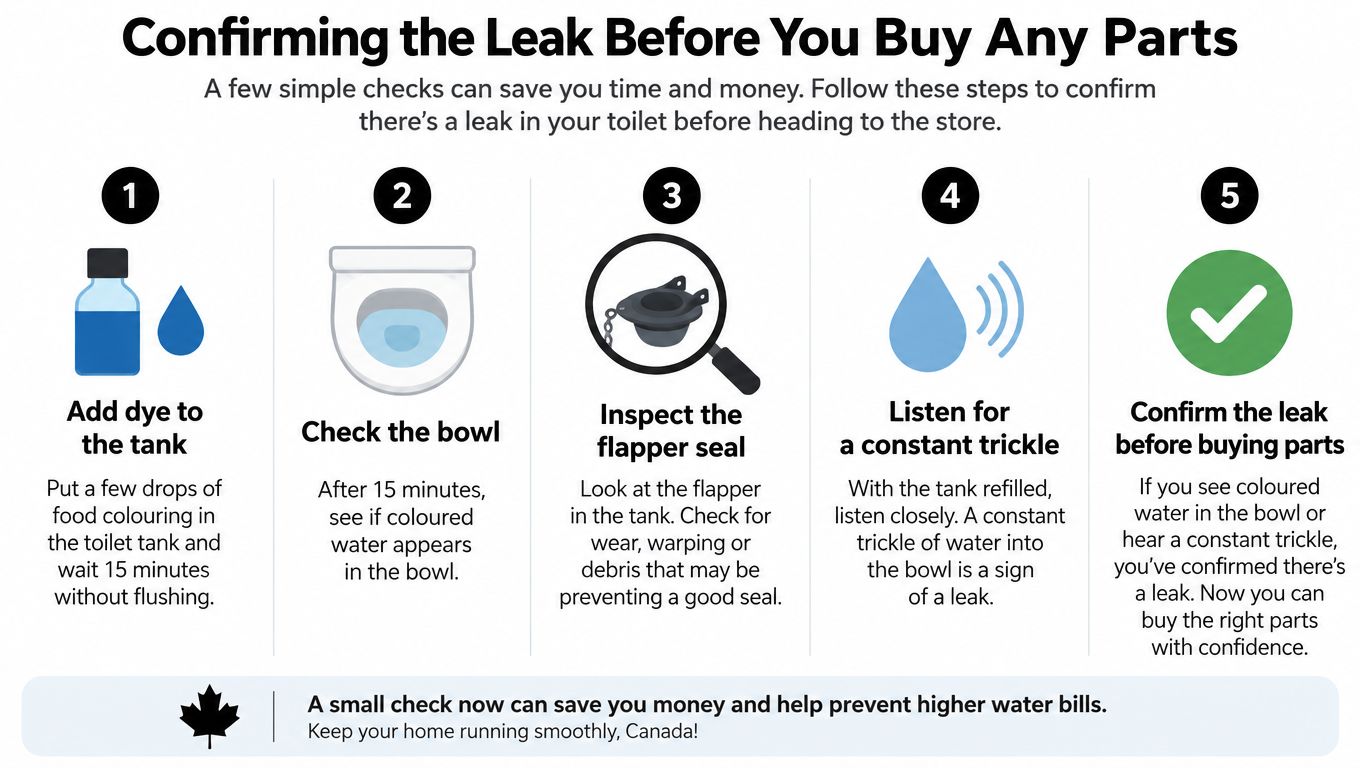
If the tank water stays clear in the bowl, listen carefully. A constant trickle into the overflow tube points toward the fill valve or an incorrect water level. A short refill that repeats without anyone touching the toilet often points to a slow flush-valve leak.
Use the meter when the leak is silent
A water-meter check is useful when sound and dye results are unclear. Turn off every tap and water-using appliance in the home. Note the meter reading, wait without using water, and check it again. Movement suggests water is being consumed somewhere, with the toilet a likely suspect if its stop valve is open and the other fixtures are dry.
For example, a Surrey homeowner might notice an occasional hiss only at night. The family could close the toilet's stop valve before bed, record the meter, and compare the reading in the morning. If the meter stops moving with that fixture isolated, the toilet has been confirmed as the source before any parts are purchased.
Calculate the loss
Once you know the toilet is leaking, estimate the rate in litres per hour. Collect the water entering the bowl or measure the amount discharged from a temporary outlet over a known period, then use:
litres collected ÷ hours observed = litres per hour
If a toilet loses 20 litres in one hour, its confirmed rate is 20 litres per hour. The VISOA range of 20 to 40 litres per hour gives strata owners a useful local reference point, but your own measurement is more persuasive when reporting the issue.
Document the defect before disassembly. Photograph the tank label, the water level, the actuator, and any visible damage. Notify the strata manager or landlord when water damage, shared walls, or common plumbing may be involved.
This evidence helps separate a fixture repair from a building issue. BC Housing advises annual visual inspection of toilets, testing shut-off valves so they don't seize, and using a qualified professional for plumbing-system repairs. It also recommends obtaining strata permission before alterations (BC Housing maintenance guidance).
Fixing a Worn Flapper and Adjusting the Chain
The flapper is the first component I inspect on a toilet that leaks from tank to bowl. Lift the lid and look for rubber that has become brittle, warped, mineral-encrusted, or misshapen. A flapper can look intact and still fail to seal against the flush-valve seat.
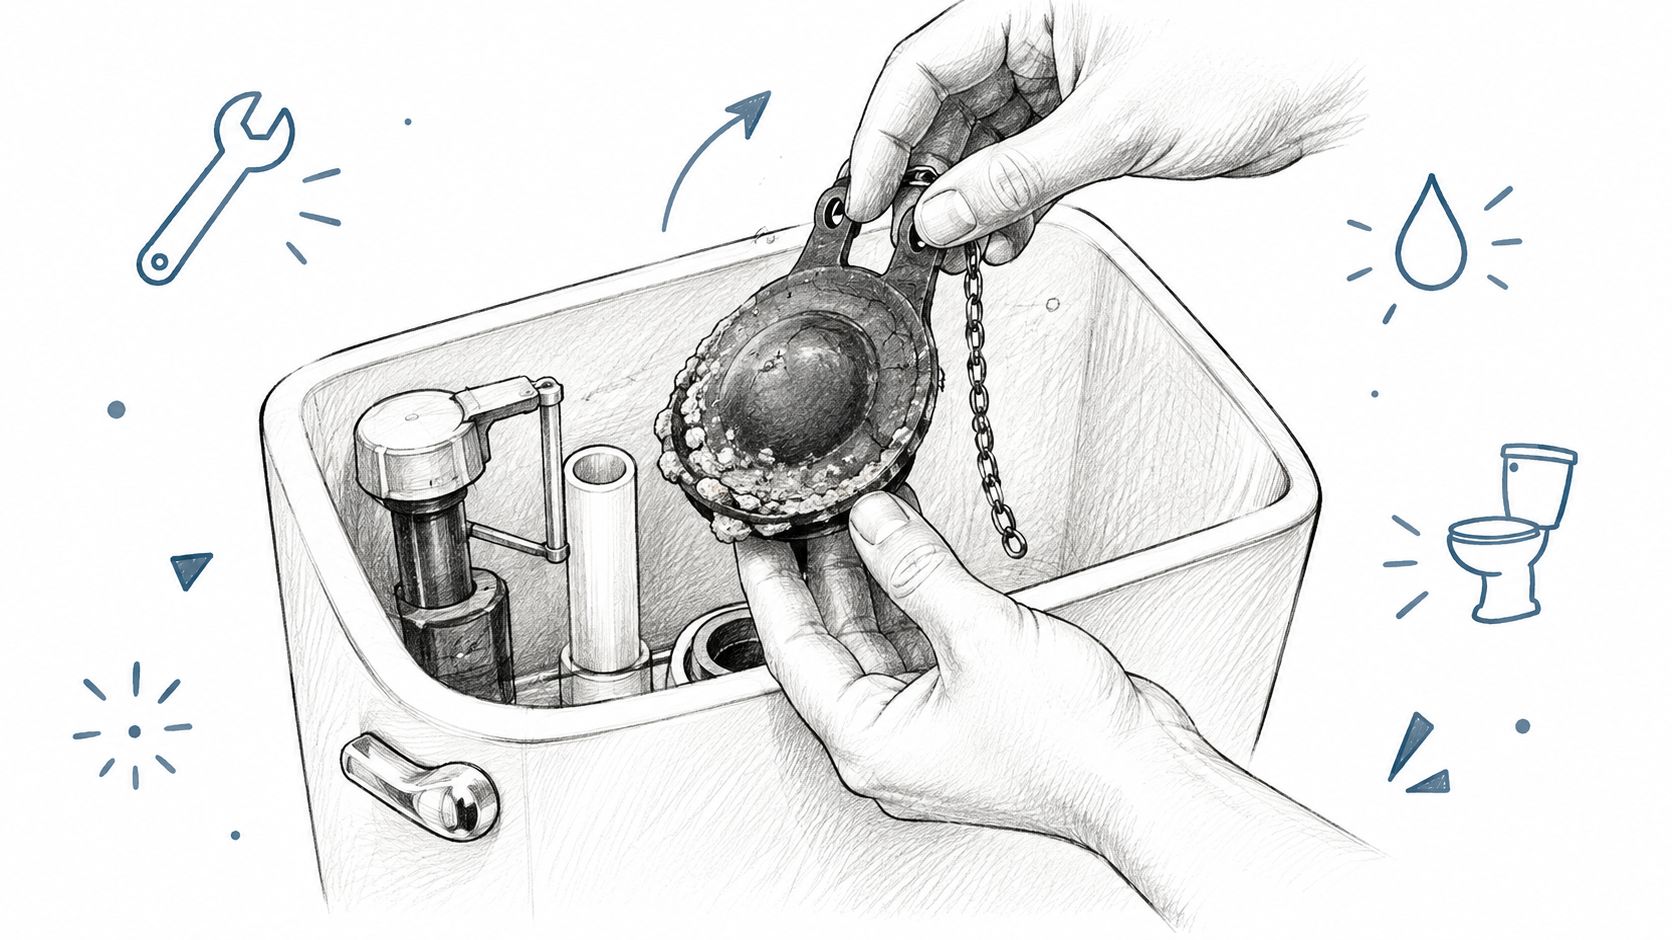
Before removing it, check the chain. Too much slack can prevent the flapper from lifting high enough during a flush. Too little slack can hold the flapper slightly open after the handle returns, creating the same slow leak as a damaged seal.
Replace the seal carefully
- Close the stop valve beside the toilet by turning it clockwise. If it won't move, don't force it with too much pressure. A seized valve is a reason to call a plumber.
- Flush the toilet and hold the handle down so the tank empties as far as possible.
- Unhook the chain from the handle arm and detach the old flapper from the flush-valve tabs or hinge points.
- Take the old part to a plumbing supplier or hardware store. Match the replacement by shape, hinge arrangement, and flush-valve design, not just by colour.
- Wipe the flush-valve seat with a clean cloth or soft sponge. Remove loose mineral deposits without gouging the plastic or damaging the sealing surface.
- Install the new flapper and reconnect the chain.
Set the chain with roughly a finger's width of slack. The handle should lift the flapper fully, then allow it to drop flat when released. If the chain pulls sideways or catches under the flapper, shorten or reposition it.
A Richmond family once described the symptom as a phantom hissing sound that appeared after every flush and disappeared for a while when someone jiggled the handle. A replacement flapper cured the noise because the old rubber no longer sealed consistently. The important part wasn't the low part cost. It was confirming that the tank water was entering the bowl before replacing anything.
Don't use a chain adjustment to compensate for a deformed flapper. Slack fixes alignment. It won't restore rubber that has hardened or a seat that has been damaged.
Turn the stop valve on slowly after installation. Let the tank fill, then repeat the dye test. If coloured water still reaches the bowl, inspect the seat again and check whether the replacement flapper is the correct type. Some toilets use a proprietary flush-valve seal, and a universal part may fit the hinge while failing to seal properly.
Watch the handle during the first flush. It should return without sticking, and the chain shouldn't remain taut. A handle that needs repeated jiggling is evidence that the actuator still needs adjustment or replacement.
Repairing the Fill Valve and Dual-Flush Actuators
A fill valve controls water entering the tank after a flush. If it runs continuously, first check whether the water is reaching the overflow tube or whether the flush valve is being held open. Replacing the fill valve immediately can waste time when the true fault is a button rod, lift cable, chain, or flush-valve seal.
Isolate the supply before touching the valve
Close the fixture stop valve, flush the tank empty, and remove the lid. That isolation sequence is specified in manufacturer installation procedures and prevents the valve from remaining under supply pressure while you work.
Check the water level against the manufacturer's fill line and inspect the overflow tube. The tank should stop filling below the top of the tube. A fill valve that continues to admit water may have a defective control assembly, sediment in the water-control section, or a distorted seal.
Clean sediment only after the supply is isolated. If a seal is worn or deformed, replace the seal or valve assembly. A patch may stop the symptom briefly while leaving the valve unreliable.
The most easily missed fault is an overlong push-button rod. If the rod presses on the flush mechanism even when the button has returned, the flush valve can remain slightly open. The fill valve then runs continuously because it's trying to replace water escaping into the bowl. Trim or adjust the rod according to the manufacturer's instructions, leaving enough clearance for the button to return freely.
For a detailed look at compatible toilet valve work, see toilet replacement valve guidance.
Check both buttons on a dual-flush toilet
Dual-flush toilets need more than a simple “the bowl emptied” test. British Columbia plumbing material identifies a dual-flush configuration of 6.0 litres for a full flush and 4.1 litres for a reduced flush (BC plumbing fixture-efficiency material).
Test the small and large buttons separately. Confirm that each button moves its lift cable or rod, that the flush valve opens for the intended cycle, and that the button returns without holding the mechanism open. A broken or incorrectly adjusted button can make the small control trigger the full discharge every time.
The BC Building Code continues to recognise the 6.0-litre and 4.1-litre dual-flush cycles as meeting the applicable water-use requirement (2024 BC Plumbing Code clarification). Use those cycles as a practical commissioning check, not merely as a label on the lid.
Repair or Replace and When to Call a Pro
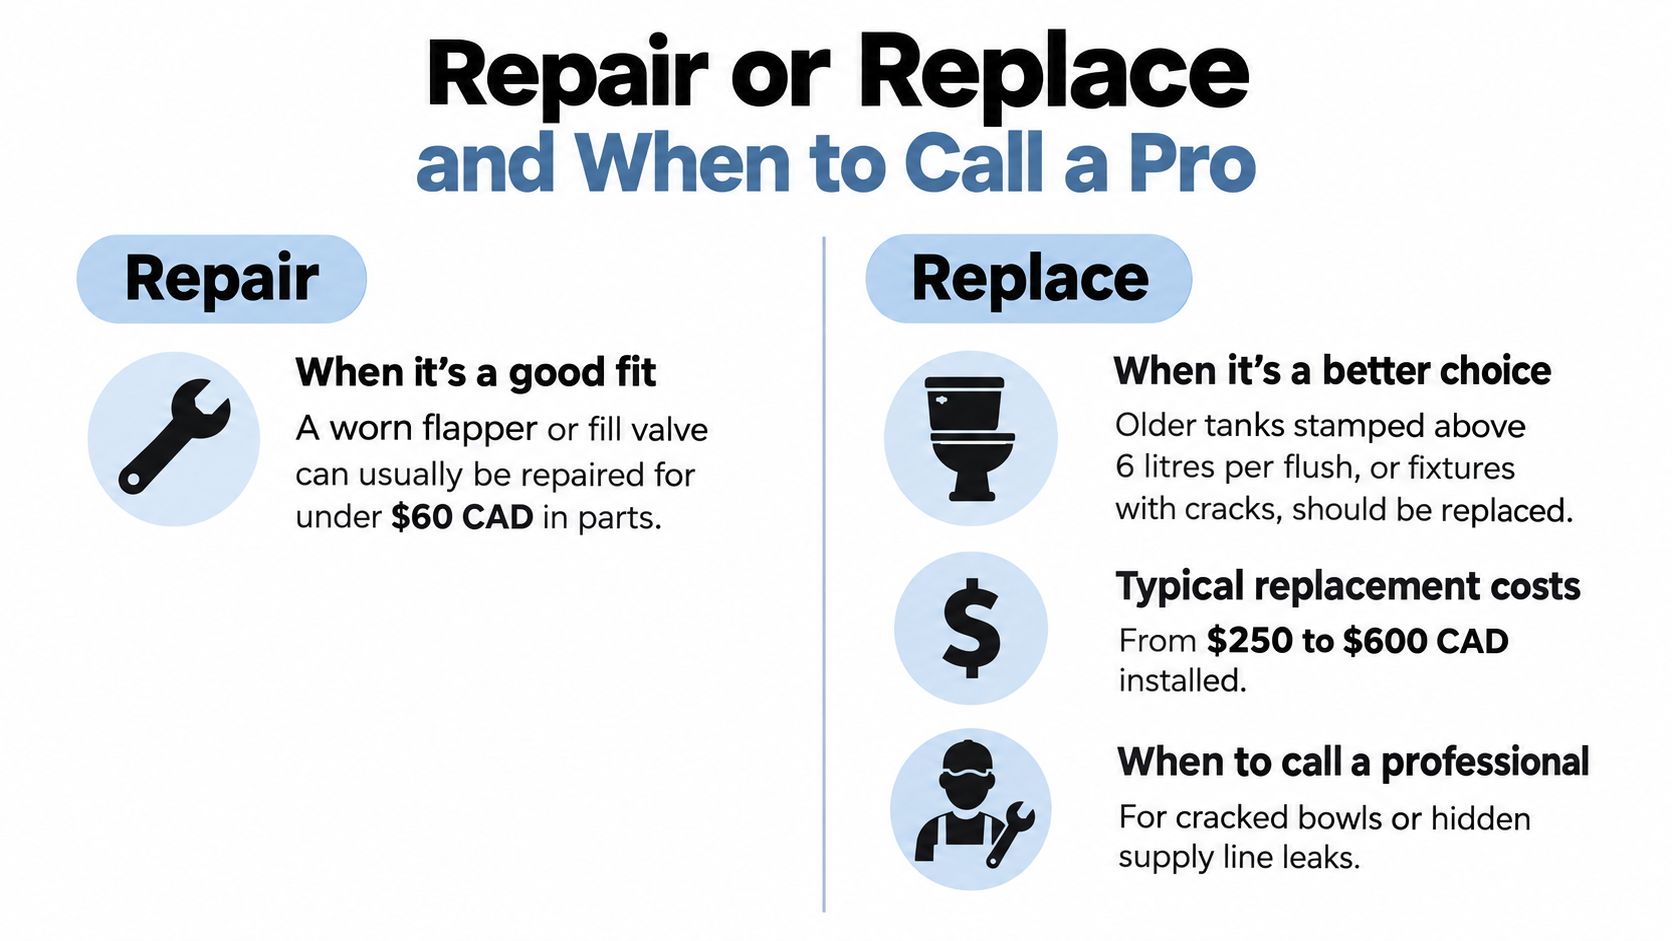
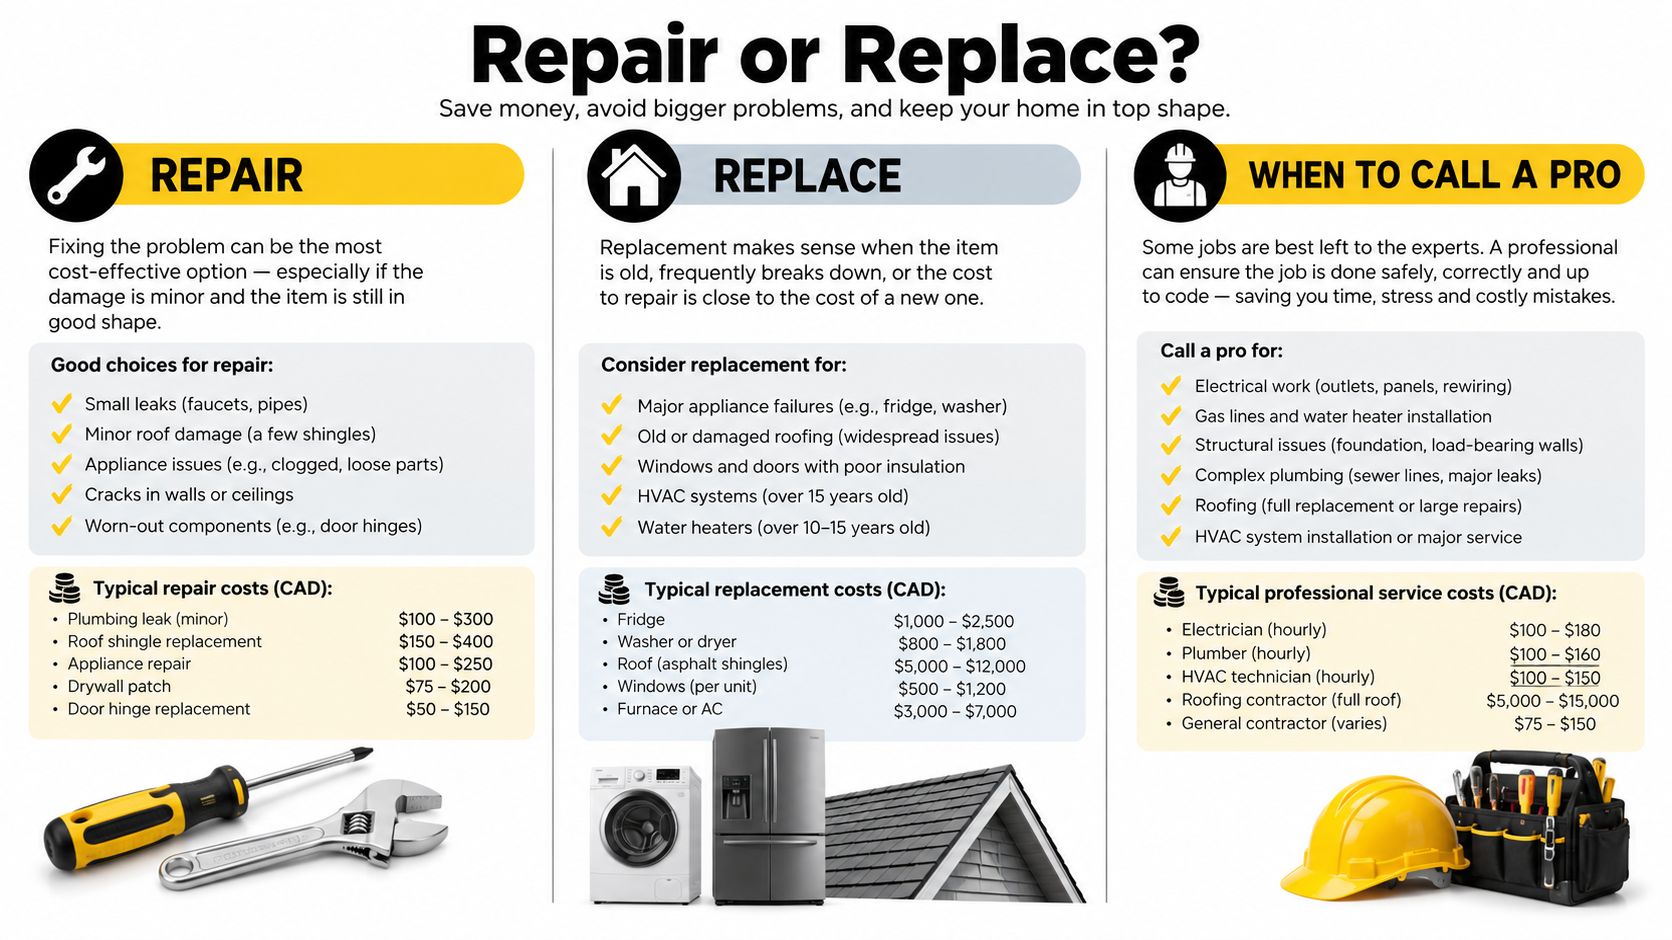
Repairing the internal mechanism usually makes sense when the porcelain is sound, the bowl clears waste properly, and the replacement parts match the fixture. Replacement becomes more attractive when the toilet is an older, high-volume model, fails repeatedly, has cracked porcelain, or uses parts you can no longer source.
Read the flush-volume marking on the tank, bowl, or manufacturer label before deciding. Nanaimo describes older toilets as using 13 litres or more per flush and newer high-efficiency models as using 4.8 litres per flush (City of Nanaimo toilet information). Those values provide a useful comparison for BC homeowners, but a low-flow replacement still needs to clear the bowl and drain properly. A weakly matched fixture can encourage repeated flushing and undermine the expected saving.
| Situation | Recommended Action | Key Consideration |
|---|---|---|
| Worn flapper, loose chain, or adjustable fill valve | Repair | Confirm the leak and match the replacement part |
| Older toilet marked 13 litres or more per flush | Compare repair with replacement | Check flush performance, available parts, and fixture condition |
| Sound high-efficiency toilet with a failed internal part | Repair | Preserve the original rated flush volume |
| Cracked tank or bowl | Replace and call a licensed plumber | Porcelain failure can cause sudden leakage |
| Repeated poor flushing after correct repairs | Replace or obtain a professional diagnosis | Check bowl design, drain performance, and flange stability |
| Strata toilet with possible wall or common-plumbing damage | Stop, document, and notify strata | Confirm bylaws and responsibility before alteration |
Greater Vancouver incentive rules also differ by municipality. Burnaby's current criteria require an EPA WaterSense-certified toilet replacing a toilet rated at 1.6 gallons per flush or larger (City of Burnaby rebate criteria). Nanaimo's toilet rebate program ended on December 12, 2025 (City of Nanaimo rebate information). Check the current local programme before buying, because eligibility and timing can change.
For a strata home, separate the fixture from the building plumbing. The toilet inside the lot may be the owner's maintenance responsibility, while a leaking supply line, wall cavity, shared drain, or other common-property component may require strata involvement. Don't remove a toilet or change its configuration without checking bylaws and approval requirements.
Call a licensed plumber when the bowl or tank is cracked, the stop valve is seized, water is entering a wall or ceiling, the supply line is leaking, the flange appears unstable, or flushing causes gurgling and backup symptoms. Dual-flush repairs also deserve care when the correct 6.0-litre full cycle and 4.1-litre reduced cycle can't be preserved.
The BC Water Conservation Plumbing Regulation also uses fixture markings such as “LC” and “6 LPF” to identify low-consumption toilets, with low-consumption fixtures defined by a marked or confirmed value of 6 litres per flush or less (BC Water Conservation Plumbing Regulation). Record that marking when repairing a commercial, institutional, or multi-unit fixture. A replacement valve shouldn't defeat the toilet's intended water-saving cycle.
For more warning signs, review this guide to when a toilet should be replaced.
Testing Your Repair and Preventing the Next One
A repair isn't finished when the toilet flushes once. Refill the tank and perform at least three test flushes, checking that the flush valve closes promptly, the tank stops filling below the overflow tube, and every threaded connection remains dry. Look at the floor around the base and the supply connection, not only inside the tank.
On a dual-flush model, test both buttons independently. The reduced button shouldn't trigger the full cycle, and neither control should leave the valve partly open after the flush. Listen for the final few seconds of filling. A brief refill is normal after a flush. Continuous hissing or periodic refilling means the repair still needs attention.
Keep the maintenance routine simple:
- Inspect annually: Look inside the tank for deteriorated rubber, mineral deposits, a misaligned chain, or a water level that reaches the overflow tube.
- Exercise the stop valve: Turn it gently through its operating range so it doesn't seize when an emergency repair requires isolation.
- Catch mineral buildup early: Repair or replace mineral-encrusted gaskets, hoses, joints, and seals before they prevent proper closure.
- Record the fixture rating: Note the stamped flush volume and the parts installed, especially in a rental, strata, commercial, or institutional property.
Most running toilets are one failed seal, adjustment, or valve away from a practical repair. Confirming the leak before buying parts protects your budget and can prevent the waste of hundreds of thousands of litres over time, especially when a leak continues unnoticed at the local rates described earlier.
If the repair leaves you with a seized valve, hidden leak, cracked porcelain, repeated blockage, or uncertainty about strata responsibility, Encano Plumbing & Drainage Ltd. offers toilet repair, leak detection, drain services, and installation support across Vancouver, Richmond, Burnaby, Surrey, and nearby communities. Visit Encano Plumbing & Drainage Ltd. to arrange a diagnosis or schedule the repair before a quiet toilet leak becomes water damage.